How to Review Passive-Cooled Grow Lights Before Thermal Approval
A thermal-approval checklist for matching passive-cooled grow lights to ambient range, fixture power, mounting records, and evidence owners.
Passive cooling is useful only when the installed fixture can move heat away under the real room or greenhouse conditions. A thermal approval should therefore do more than confirm that a catalog row says passive cooling. It should connect the exact model, power load, ambient range, mounting position, and evidence owner before the order moves into installation.
1. Treat thermal approval as a project decision
Do not approve a passive-cooled fixture from the cooling method alone. The review should name the room type, crop zone, expected ambient range, fixture orientation, mounting height, dimming behavior, cleaning exposure, and the document that will control deviations. This keeps a thermal question from becoming an informal promise about lifespan, yield, or HVAC savings.
2. Start with verified model rows
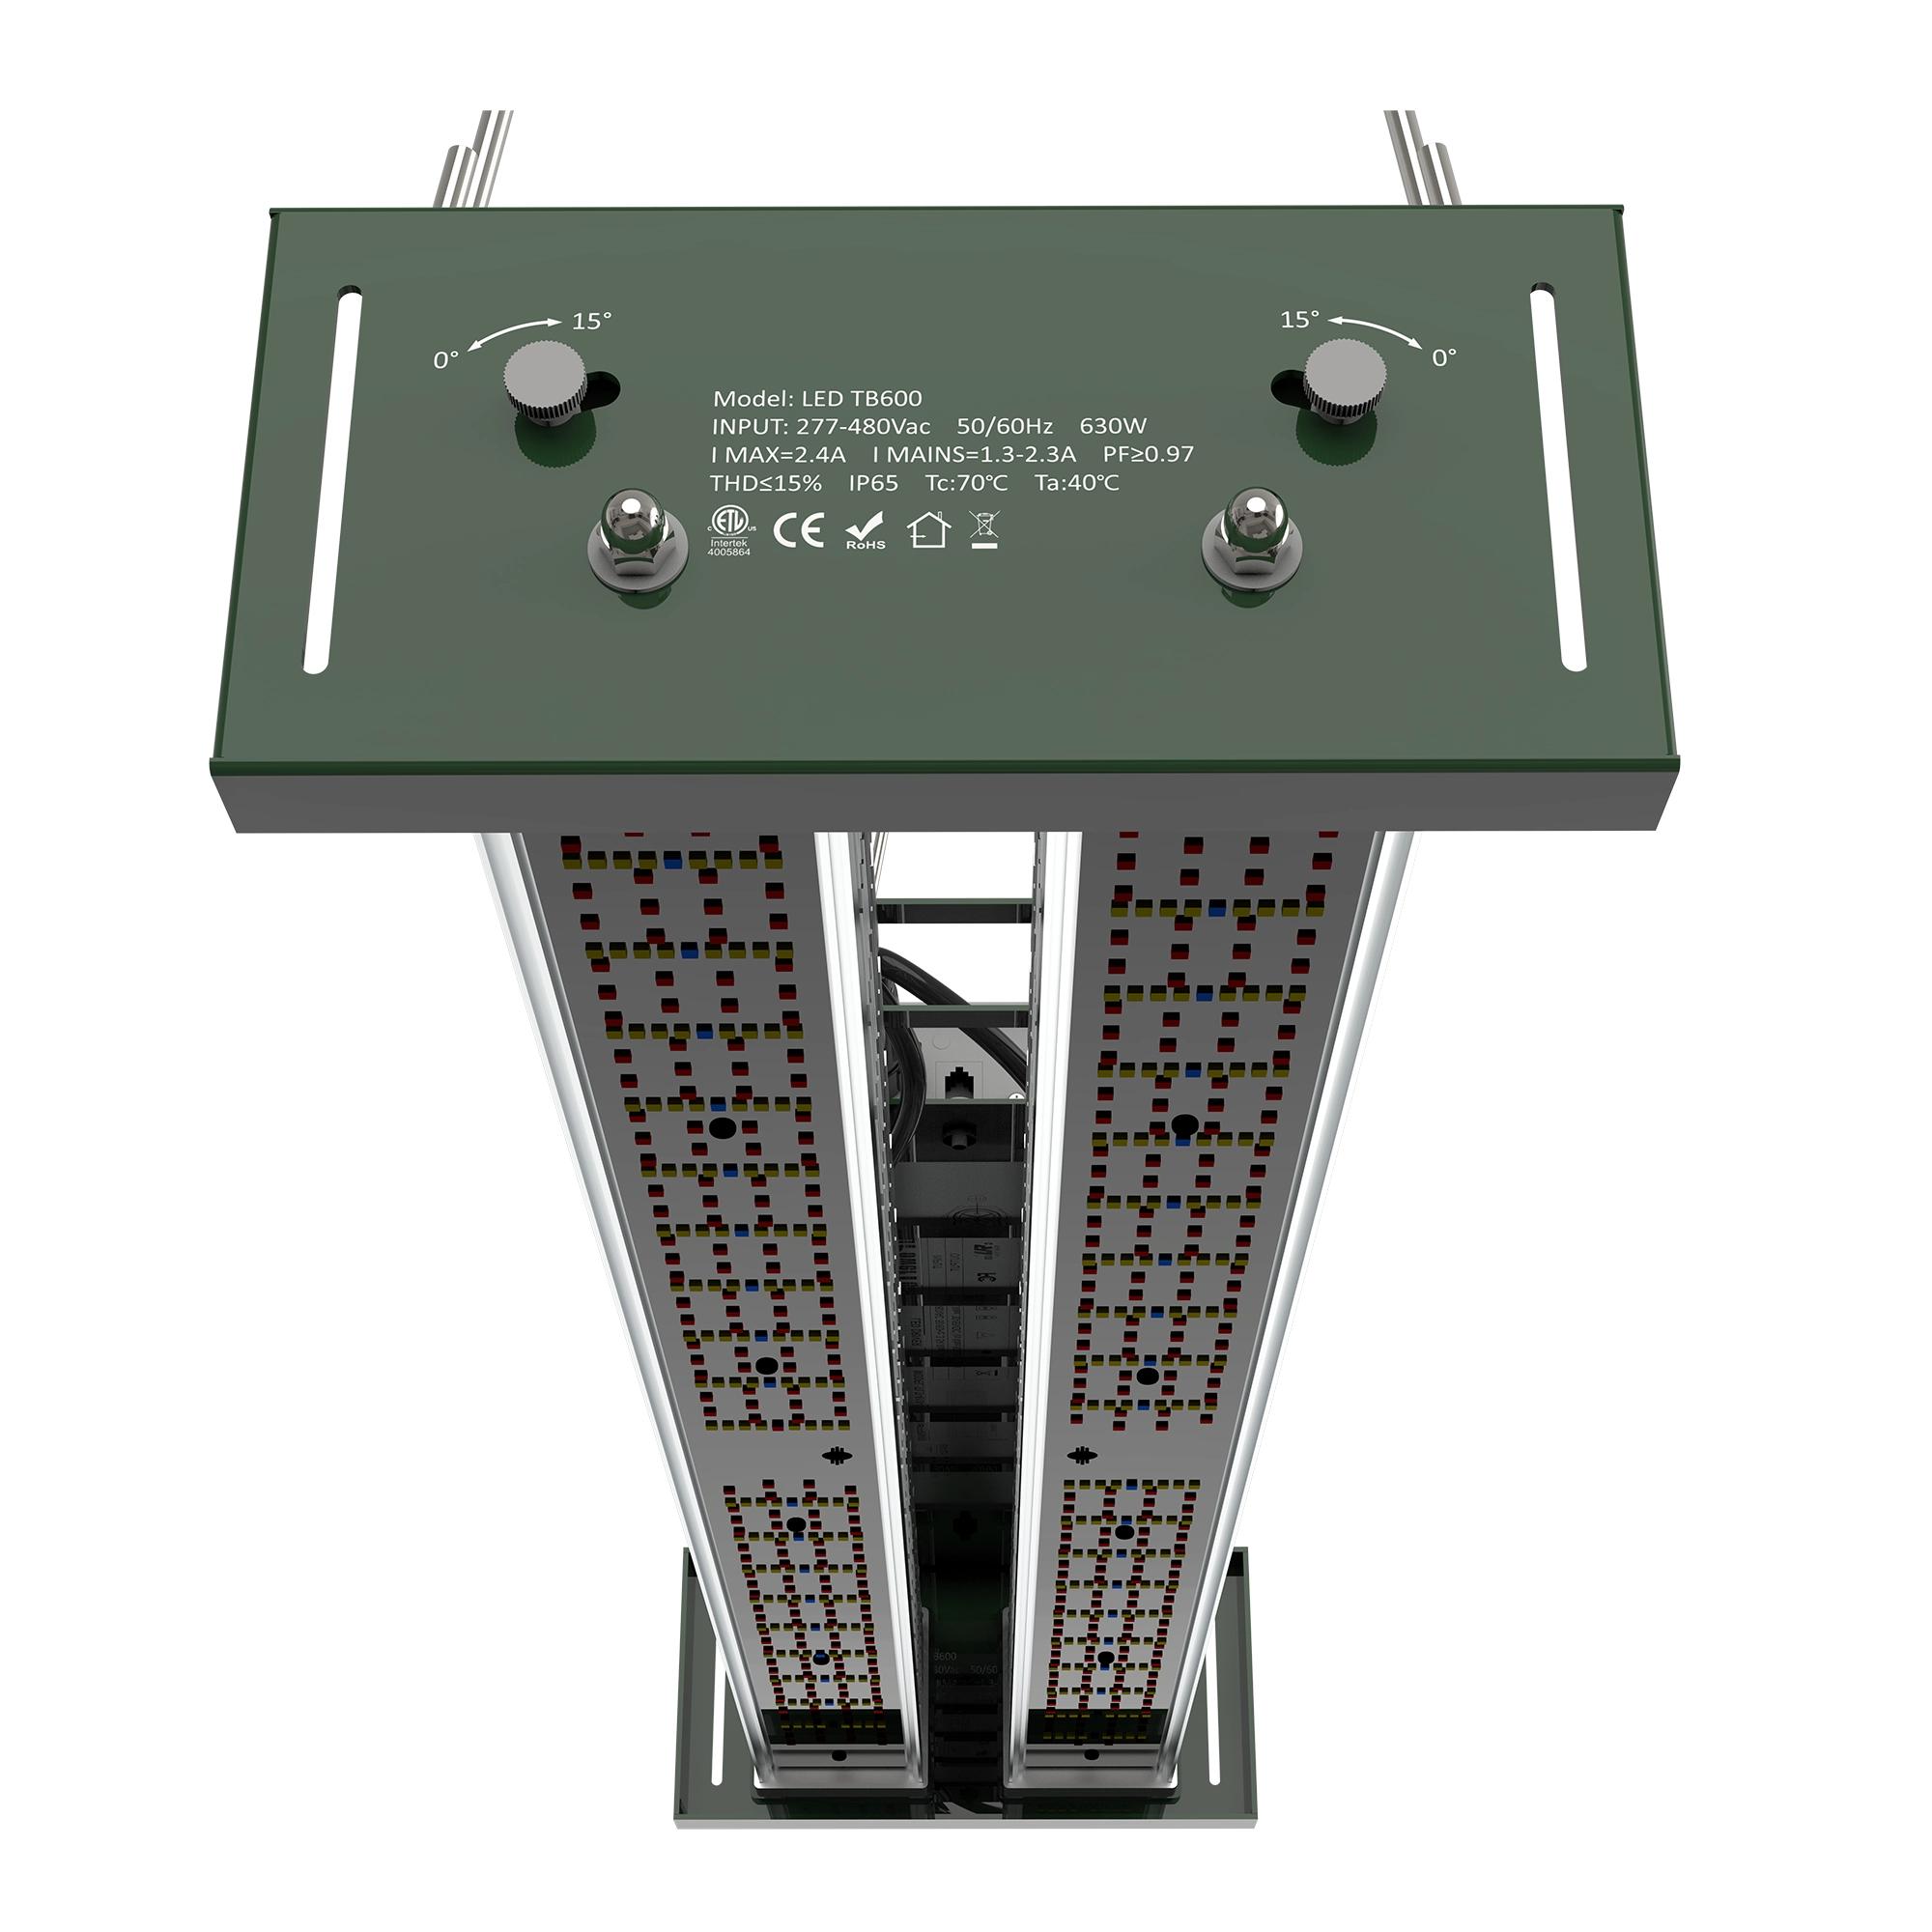
For a greenhouse toplight, the current Number LED TB600 product record lists 600 W +/-5% power consumption, 2100 umol/s PPF, 3.5 umol/J efficacy, passive thermal management, 0-10V dimming, a -20 deg C to 35 deg C operating-temperature range, and 7.0 kg weight. For a foldable indoor fixture, the current Number LED JT720F product record lists 720 W power, 1950 umol/s PPF, 2.7 umol/J efficiency, passive cooling, Knob & 0-10V dimming, a -20 deg C to 35 deg C operating-temperature range, and 6.6 kg weight. Put those rows beside the layout drawing instead of relying on a generic LED grow-light assumption.
3. Match ambient range to the worst normal condition
UL's horticultural lighting guidance notes that indoor agricultural environments can vary widely in humidity and temperature, and that equipment may need evaluation for damp, wet, or elevated-ambient conditions. For an approval sheet, record the highest expected operating ambient at fixture height, not only the room setpoint. Greenhouse roof zones, rack shelves, driver locations, and stagnant air pockets can create different local conditions.
4. Ask for layout evidence, not a universal clearance
A useful thermal checklist asks whether the heat-sink path is blocked by crop support, rack hardware, plastic film, cable trays, reflective curtains, or neighboring fixtures. It also records whether the fixture is installed flat, angled, suspended, or close to a shelf. If the project needs a minimum air gap, require that number from the approved installation drawing or supplier submittal instead of inventing it during receiving or commissioning.
5. Keep cooling, controls, and maintenance in the same record
DLC's horticultural technical-requirements page frames horticultural lighting as a set of variables that includes cooling methods, control features, and suitability for specific applications. That is a practical structure for a buyer checklist: record the fixture's cooling method, power row, dimming method, intended zone, cleaning exposure, and owner for any missing document. A dimmed installation, for example, still needs a defined operating range and a clear control handoff.
6. Use a simple thermal approval table
Before release, build one row per model and zone: model name, product ID, power, cooling method, operating-temperature range, fixture weight, mounting orientation, expected ambient at fixture height, dimming/control method, blocked-airflow risks, cleaning exposure, required submittal, and approval owner. Mark any blank row as a hold point. Do not convert a blank row into an implied warranty, safety, or crop-performance claim.
Next action
If the fixture will be customized, send the thermal approval table with the layout drawing, dimming plan, and ambient assumptions before sample release. Number can then review the OEM/ODM project scope against the exact model rows instead of treating passive cooling as a standalone approval.