How to Build a Grow Light Electrical Load Schedule
A buyer checklist for building grow-light load schedules from verified wattage, voltage, dimming, fixture count, and evidence rows before installation review.
A grow-light electrical load schedule is not only an electrician's worksheet. For commercial greenhouse, indoor-room, and OEM projects, it is also a procurement control: every fixture count, voltage row, dimming group, cable choice, and product label should point back to verified model evidence before installation review. The schedule should help a licensed electrical reviewer work from clean supplier data, not from guessed current, copied wattage, or a mixed quotation.
1. Define the schedule as an evidence document
Start by naming the facility area, crop room or greenhouse bay, fixture model, fixture quantity, approved layout revision, control zone, input-voltage assumption, plug or hardwire approach, cable route, and evidence owner. Keep design responsibility clear: the supplier should provide verified product rows and installation documents, while the buyer's qualified electrical team confirms code, circuit sizing, overcurrent protection, disconnects, and local approval requirements.
2. Start with verified Number wattage and voltage rows
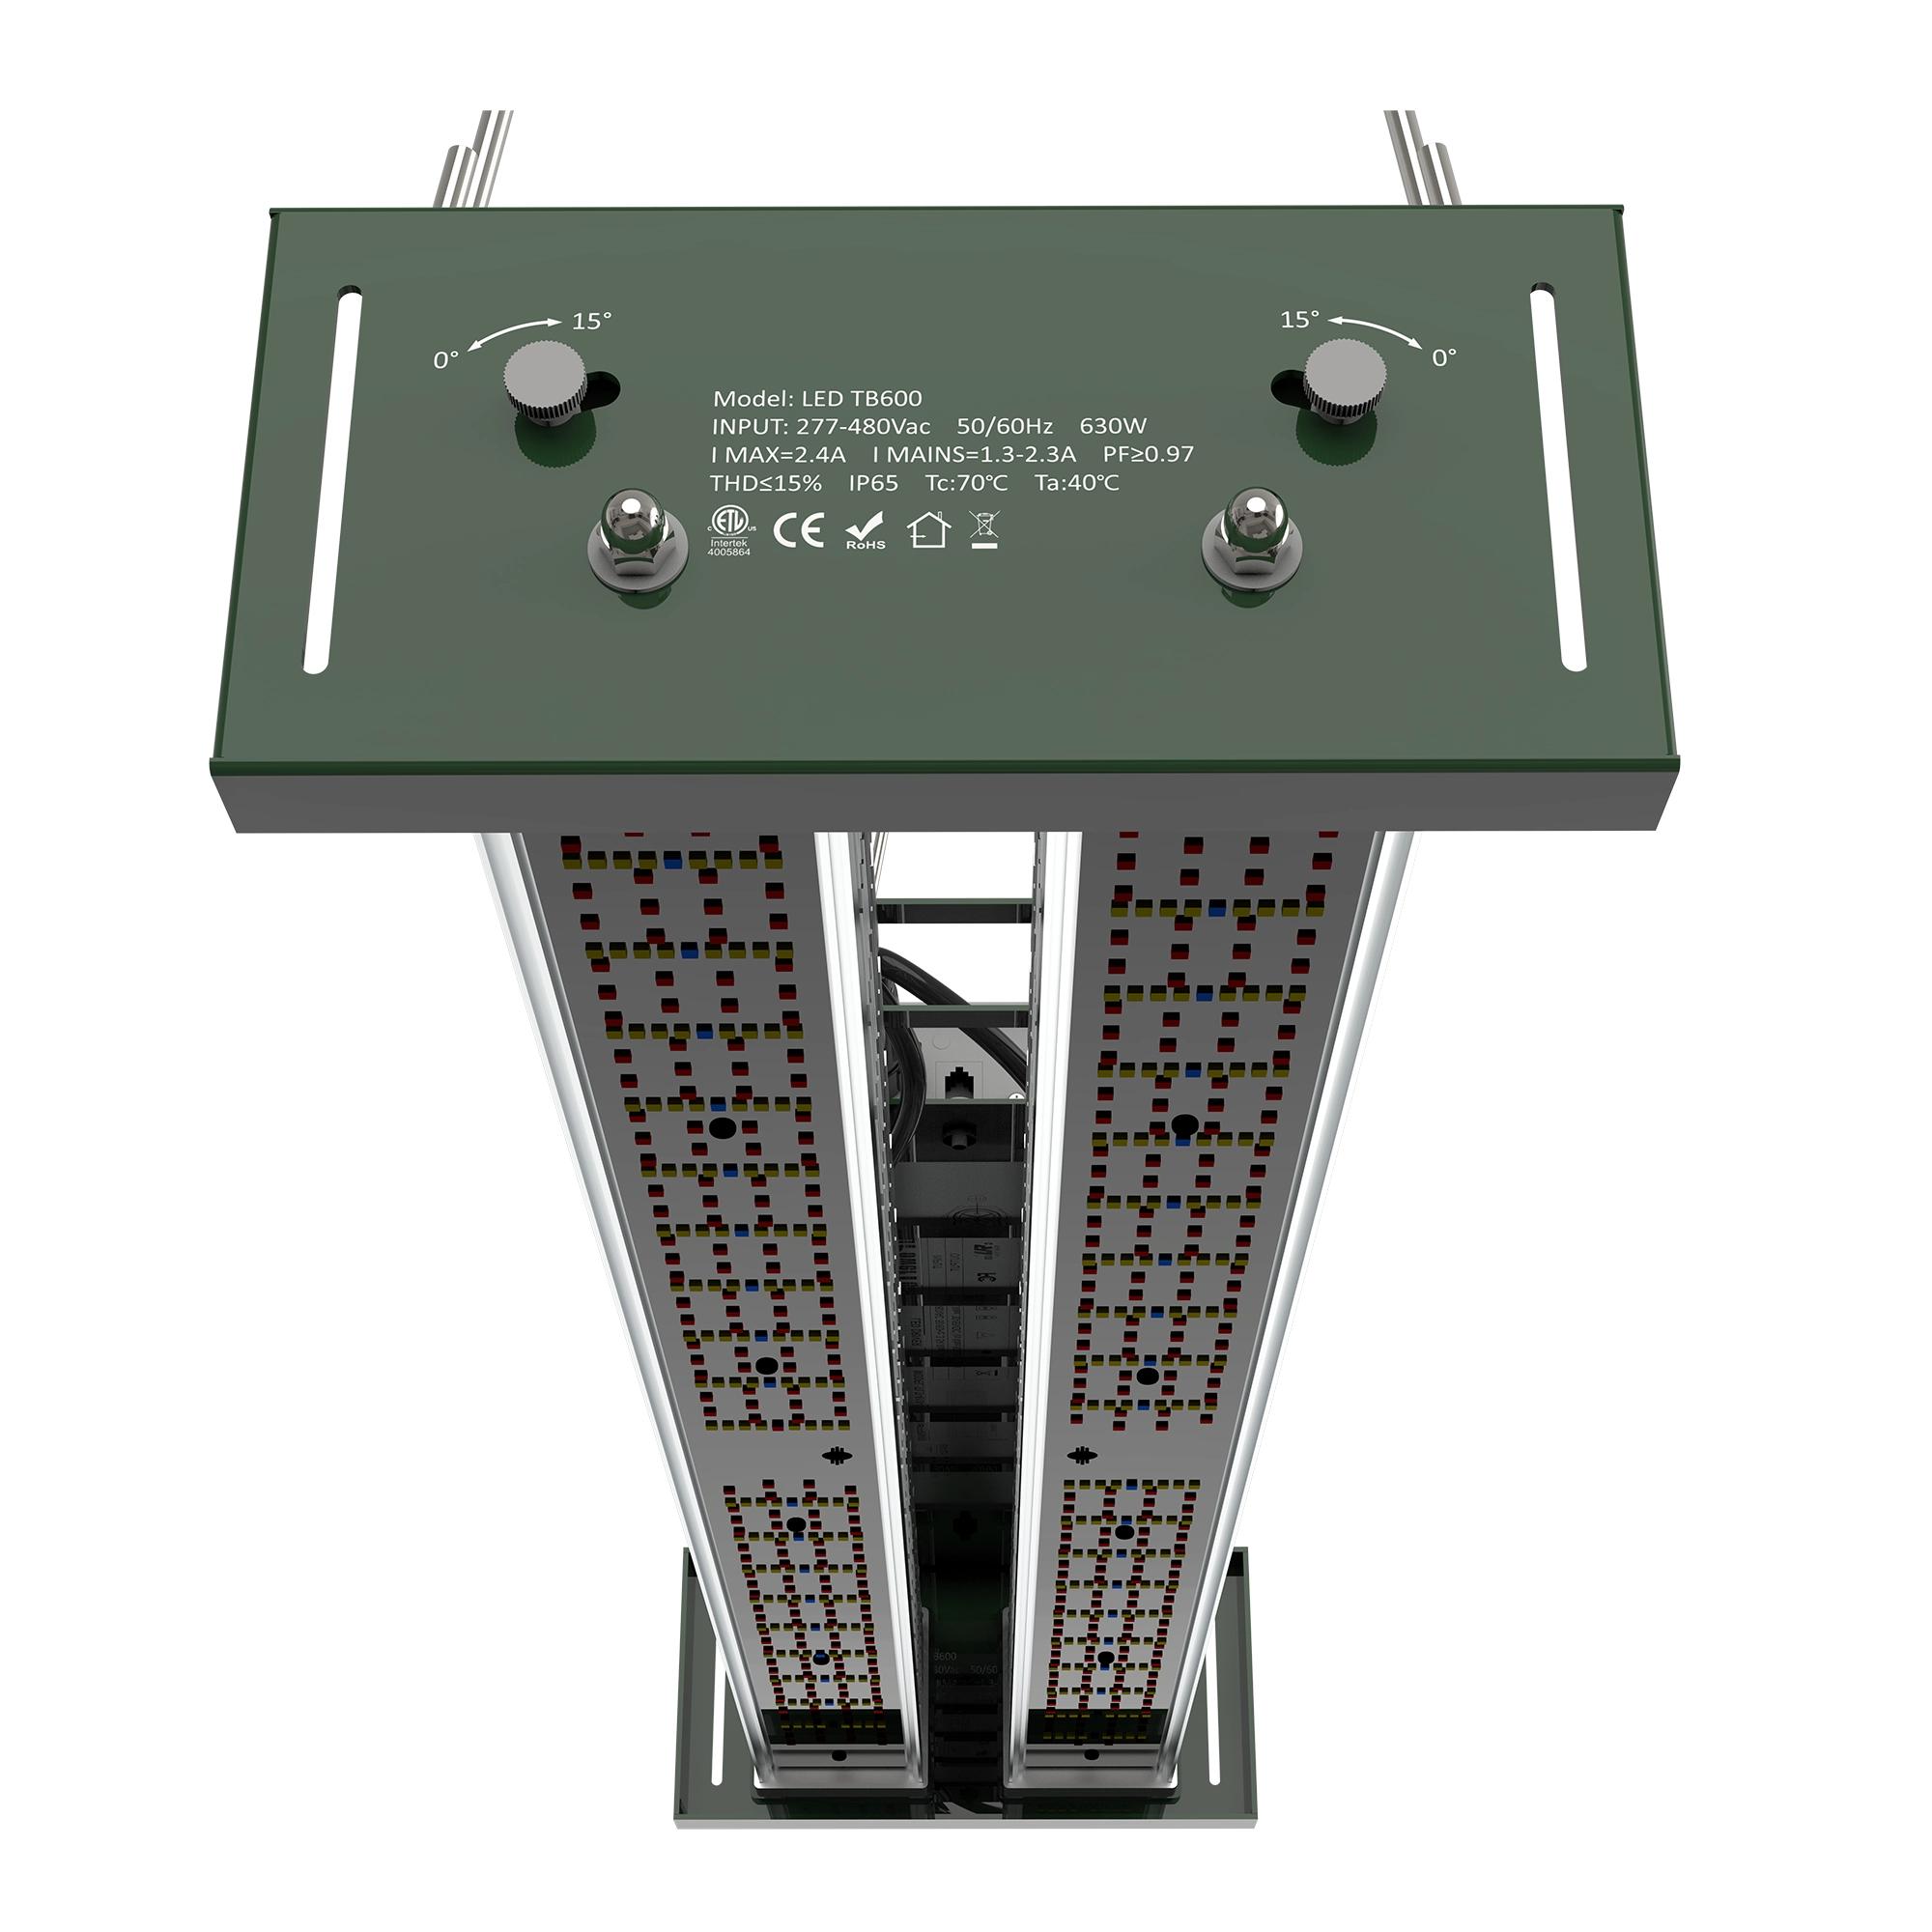
Current Sanity data lists the Number LED TB600 greenhouse toplight at 600 W +/-5 percent, AC 200-480 V input voltage, power factor at least 0.97, 0-10 V dimming, and 7.0 kg weight. Current Sanity data lists the Number LED JT720F at 720 W, AC 220-240 V input voltage, knob and 0-10 V dimming, passive cooling, and 6.6 kg weight. Use those rows as model-specific inputs for the schedule; do not substitute a similar wattage fixture unless the quotation, datasheet, nameplate, and installation instructions all match.
3. Treat missing electrical rows as open approval items
A load schedule should make gaps visible. For example, the current DT830 Sanity row lists 830 W +/-5 percent power consumption, 2330 umol/s PPF, 2.8 umol/J efficacy, 0-10 V dimming, passive thermal management, and 13.5 kg weight, but it does not expose an input-voltage specification in the product specifications returned today. Before assigning that row to a circuit schedule, ask for the missing voltage and nameplate evidence. The same rule applies to every mixed fixture order: use the input-voltage checklist to keep voltage assumptions from drifting between the quote, layout, fixture label, and installer submittal.
4. Ask for the rows an electrical reviewer actually needs
The buyer-facing schedule should request the exact model name, product ID or SKU, fixture count by area, rated input voltage or voltage range, rated wattage and tolerance, stated current by voltage if supplied, frequency, phase if relevant, power factor, THD or THDi if supplied, dimming method, control-zone assignment, cable or connector type, mounting condition, ambient-temperature limit, IP or environmental rating, and the evidence file for each row. If a field is not supplied, mark it as supplier evidence needed instead of filling the blank from another model.
5. Keep QPL and safety context tied to exact models
DLC's current Horticultural Technical Requirements page frames the Hort QPL around product specifications, controllability, safety certification, and testing/reporting requirements for LED horticultural fixtures. UL 8800's public scope page describes horticultural lighting equipment and systems intended for plant-growth environments and installed under NEC or CEC context. For procurement, that means certification and listing claims should be checked against the exact model, label, installation instructions, and configured options. A certification field in a product record is not a substitute for the current certificate, QPL row, or authority-having-jurisdiction review.
6. Record operating scenarios, not only full-output totals
A fixture count total is not enough when rooms use dimming, crop-stage recipes, sunrise/sunset ramps, or independent trial zones. Add a row for maximum output, normal operating setpoint, commissioning test state, cleaning or maintenance shutdown, and emergency/manual override if those functions are part of the project. This helps the buyer compare the electrical schedule with the lighting layout, controller settings, and commissioning record before accepting the installation package.
7. Lock the evidence packet before installation release
Before purchase release or site shipment, collect the approved layout, fixture schedule, model-specific datasheet, nameplate image or artwork, installation manual, cable and connector drawings, controller zone map, certificate or listing evidence where claimed, and a signed exception list for missing rows. The smallest useful schedule is simple: one row per fixture model per room or bay, with every electrical assumption traceable to a current document.
Next action
Send Number the fixture list, room or bay layout, target voltage, controller plan, and any site electrical constraints. Ask for a model-specific load schedule and evidence packet before the installer converts the lighting quote into final circuit documents.