How to Commission Grow Light Controls Before Handover
A commissioning checklist for accepting 0-10V or RS485 grow-light controls, zone maps, schedules, sensors, and handover evidence.
A grow light controller should not be accepted at handover just because the screen powers on or one fixture dims in a demo. For a commercial room or greenhouse bay, commissioning evidence should prove that the installed controller, zone map, output ports, schedule, sensor logic, environmental limits, and owner training match the approved order. The goal is a reviewable control record, not a promise about crop yield or utility savings.
1. Match the installed controller to the approval row
Start with identity control. The commissioning sheet should name the controller model, product ID, firmware or menu version if supplied, power adapter, output protocol, connected fixture family, approved drawing, and room or bay served. If the model on the wall does not match the quotation, packing list, wiring diagram, and operator instructions, pause acceptance until the supplier explains the deviation in writing.
2. Start from verified Number controller rows
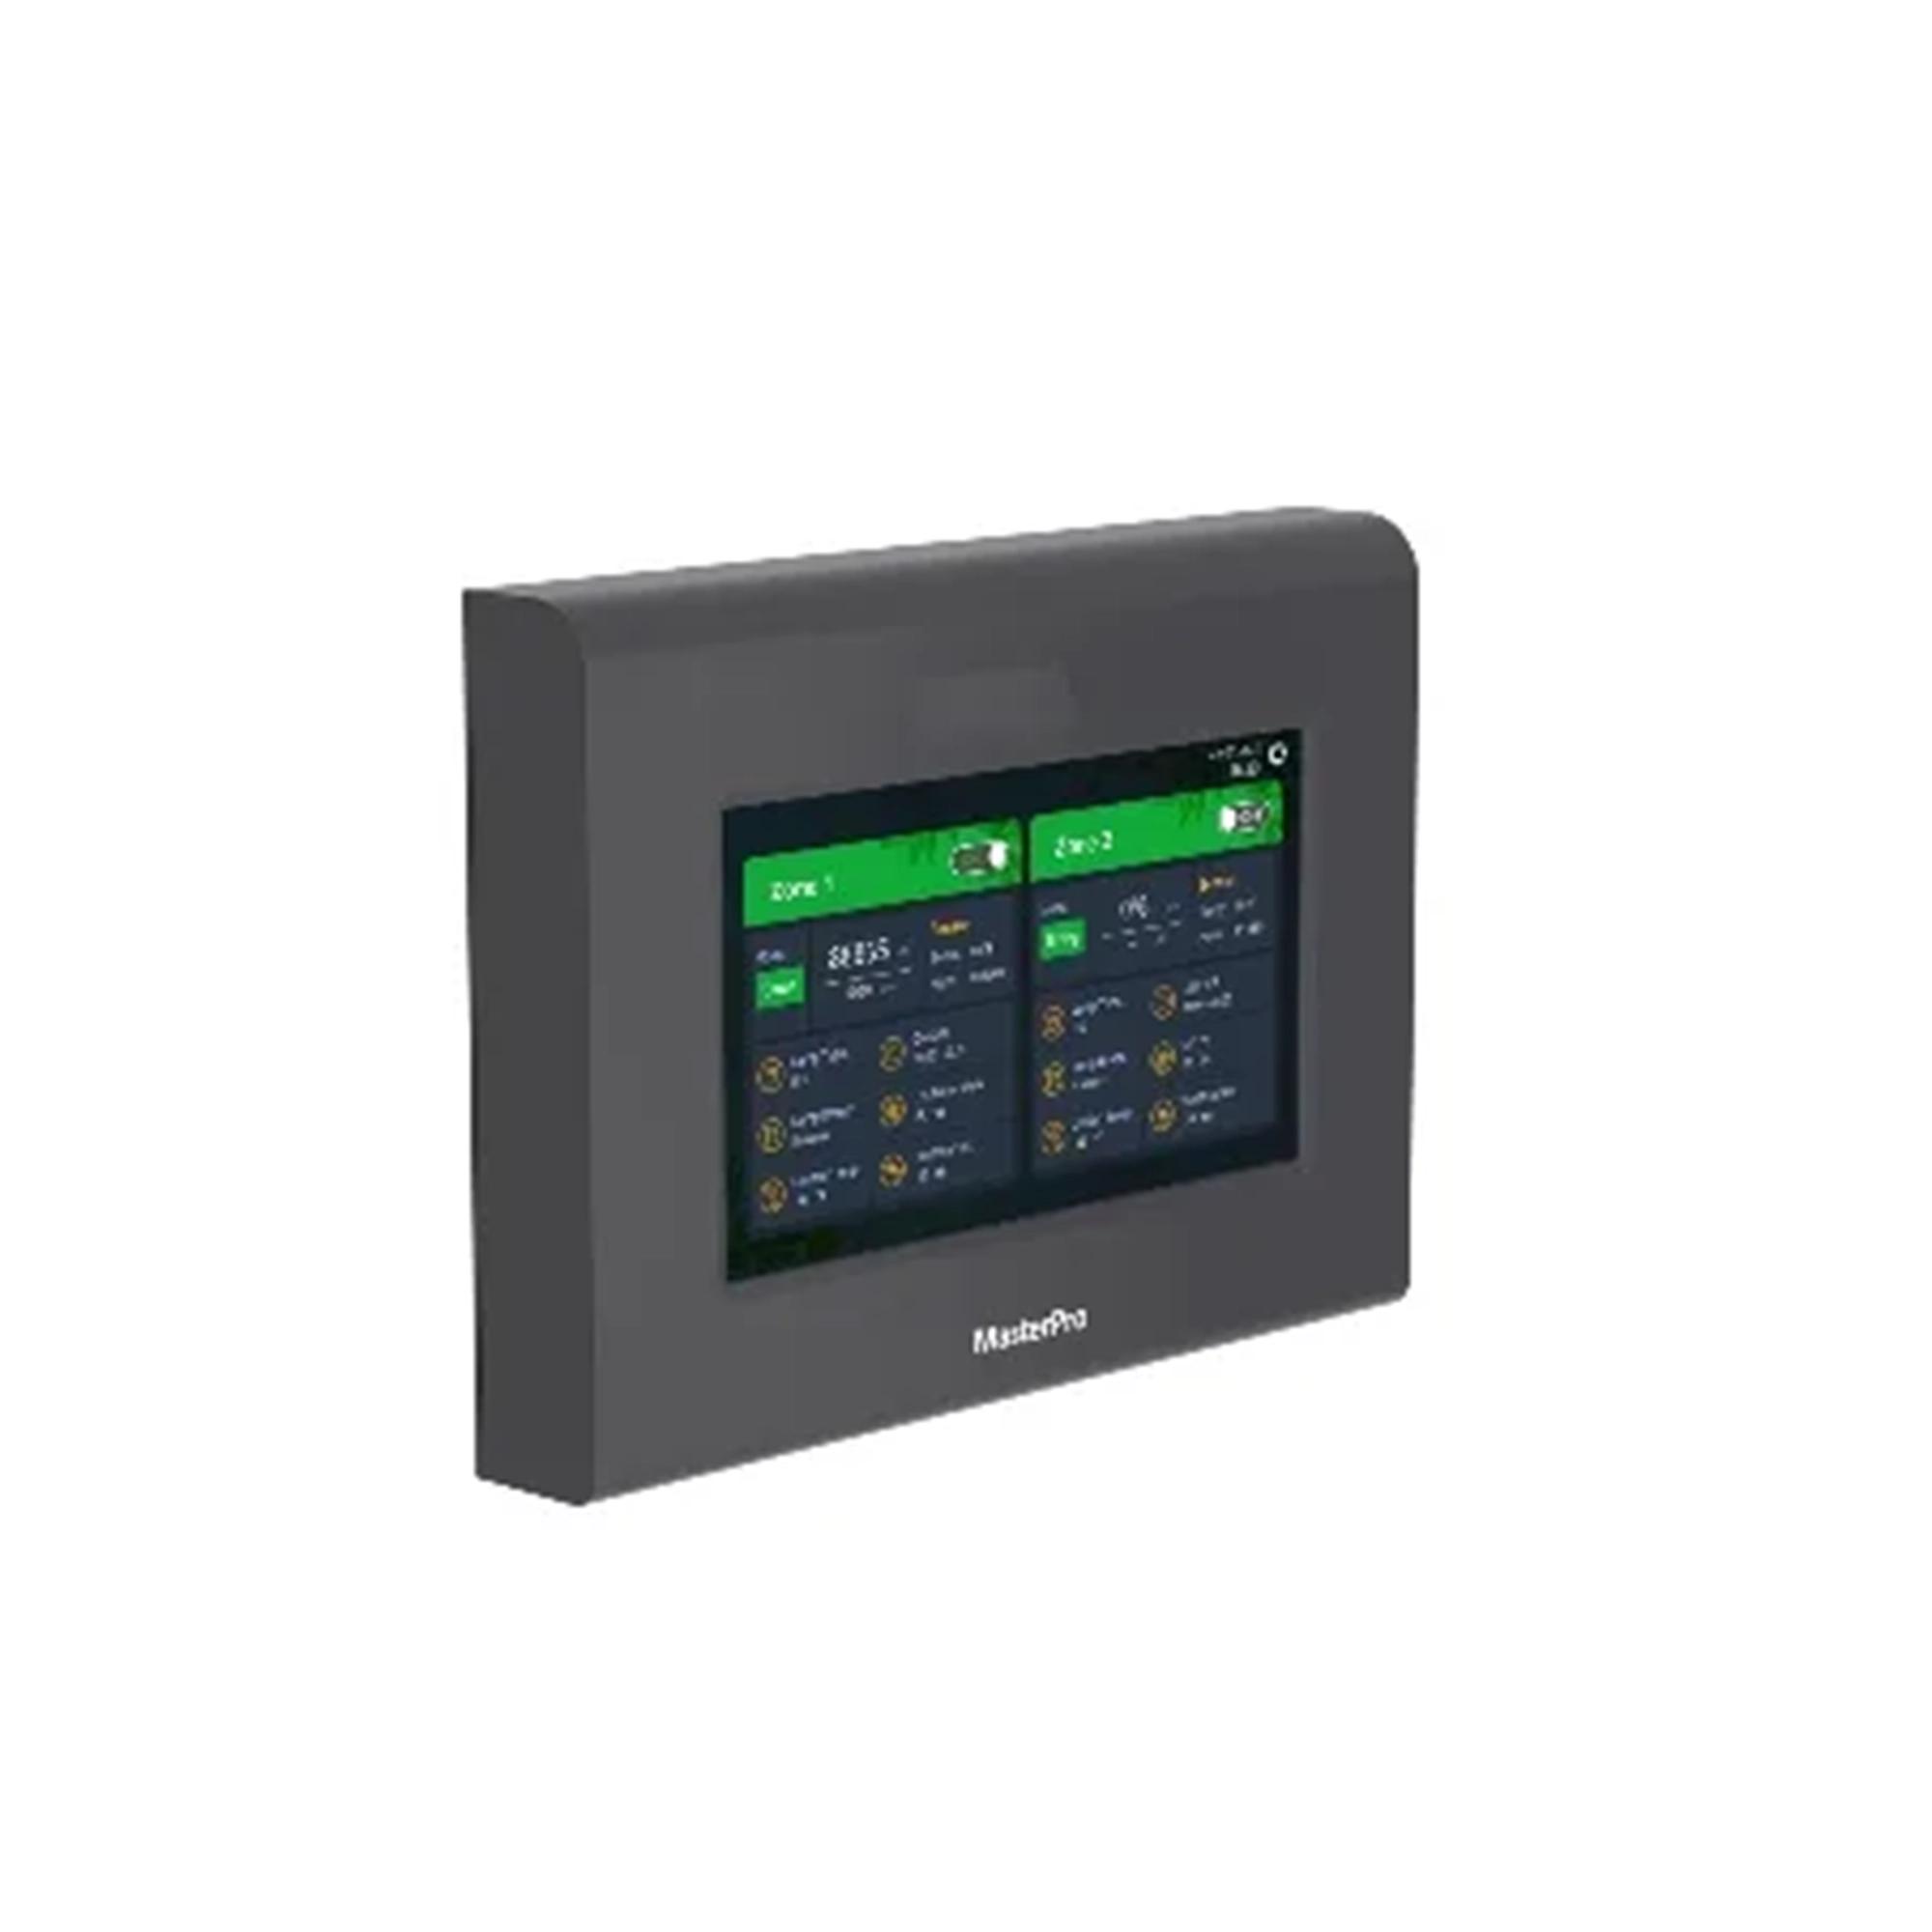
For a two-zone analog control project, the current Number SLC 0-10V controller record lists 20 W power, 222 x 162 x 32 mm dimensions, 12 V / 1 A power from a 100-240 VAC adapter, two independent lighting zones in the description, programmable 10-60 minute sunrise/sunset ramps, room-overheat protection, and an LCD touchscreen. For an RS485 project, the current Number Master Pro controller record lists 20 W power, 222 x 162 x 32 mm dimensions, 12 V / 1 A power from an included 100-240 VAC adapter, a 7-inch 1024 x 600 display, 2-way RS485 output, -20 C to 40 C and 0-90 percent RH operating range, IP54 protection, 20,000 h lifespan, and a two-year warranty.
3. Prove the zone map, not only the controller feature
A commissioning record should show which fixtures respond to each output, channel, or RS485 address. Use the approved grow light control-zone plan as the comparison point. Then record each zone name, crop area, fixture count, cable route, control method, address or output label, dimming direction, maximum command, minimum command, and any fixture group that should stay independent for trials, maintenance, or crop-stage changes.
4. Check schedule behavior against the crop-light objective
MSU Extension separates photoperiod lighting from lighting intended to increase daily light integral. Iowa State Extension also frames DLI as light delivered over a 24-hour period and describes timers as a way to keep light and dark periods consistent. For handover, do not accept a generic schedule screenshot. Record whether the controller is being used for photoperiod extension, DLI support, trial comparison, cleaning shutdown, or simple on/off scheduling, then test the start time, stop time, ramp duration, dimming level, and manual override for each zone.
5. Separate sensor logic from fixture performance
A sunlight sensor, temperature sensor, or room-overheat setting is a control input, not proof that the fixture produces a specific canopy result after installation. Ask for the sensor location, sensor type, connection port, calibration or comparison method if supplied, target threshold, fail-safe behavior, and screenshot or export showing the final setting. If the supplier cannot provide those rows, describe the feature as configurable, not commissioned.
6. Build a handover packet the owner can audit later
DLC NLC V5.2 describes networked lighting controls around capabilities such as individual addressability, continuous dimming, zoning, daylight harvesting or photocell control, scheduling, scene control, and energy monitoring. Use that as a documentation prompt rather than a listing claim. The handover packet should include the approved product rows, wiring or address map, final controller settings, photographs of installed controller and labels, sensor placement notes, owner training record, exception list, and the name of the person authorized to change schedules after acceptance.
7. Use one acceptance row per controlled area
For each greenhouse bay, rack group, or indoor room, approve one row with controller model, controlled fixture model, output or address range, zone name, crop area, intended control objective, schedule, ramp, sensor setting, environmental limit, manual override test, alarm or shutdown behavior, open deviations, and handover owner. That record gives procurement, cultivation, maintenance, and the supplier a shared basis for acceptance before the project moves into normal operation.
Next action for buyers
Before signing a controller handover sheet, ask Number for the approved controller row, fixture compatibility row, zone or address map, final schedule export or screenshot, sensor setting record, and unresolved exception list for the first installed area.